

Most people understand the basic pitch behind solar power free sunlight, lower bills, a cleaner footprint. What’s less clear to a lot of property owners is what the process actually looks like once you decide to move forward. How long does it take? What gets checked before anything is installed? Who handles approvals? And what actually determines whether a system performs well for the next 25 years or quietly underdelivers from day one?
Understanding the steps behind a proper Solar Installation Singapore project makes it much easier to plan realistically, set the right expectations, and spot the difference between a rushed setup and one that’s built to perform for decades. Here’s a practical, step-by-step walk-through of what the journey typically looks like, from the first site visit to the day the system switches on and everything that matters in between.
Step 1: Site Visit and Assessment
Every project starts with a physical look at the property. An installer checks the roof’s condition, orientation, and available space, along with any shading from nearby structures, trees, or equipment. This step also identifies structural considerations — older roofs, for instance, may need reinforcement before panels can go up.
What typically gets assessed:
- Roof angle and direction (south-facing generally captures the most sunlight in the tropics, though orientation needs vary by site)
- Shading throughout the day, not just at one point in time
- Roof material and structural condition
- Access points for equipment and future maintenance
- Existing electrical setup and available capacity
A thorough site visit also considers how the property is actually used. A factory running machinery throughout the day has a very different energy profile from a home that’s empty from nine to five, and that difference should shape the design that follows.
Step 2: Custom System Design
No two roofs are identical, so system design isn’t a one-size-fits-all exercise. Based on the site assessment and the property’s electricity usage, an installer designs a layout and system size intended to match actual consumption, not just available roof space.
| Design Factor | Why It Matters |
| Panel count and placement | Determines total generation capacity and how well it matches usage |
| Inverter sizing | Undersized inverters bottleneck output; oversized ones waste budget |
| Wiring and mounting | Affects long-term durability and safety |
| Monitoring setup | Lets owners track performance and catch issues early |
Good design also accounts for future flexibility. Many property owners eventually add battery storage, extra panels, or EV charging capacity down the line, and a system designed with that possibility in mind is far easier and cheaper to expand later than one that wasn’t.
Step 3: Proposal, Approvals, and Agreement
Once the design is finalised, the property owner receives a full proposal covering costs, expected savings, and installation timelines. For most residential and smaller commercial projects, this is a fairly quick process. Larger commercial and industrial installations usually require additional engineering sign-off and regulatory approval before work can begin, given the scale of the system and its connection to the building’s electrical infrastructure.
This stage is also where financing and payment structures are typically discussed. Some property owners pay upfront, while others explore financing arrangements that spread the cost over time, offsetting the payments against the savings the system is expected to generate. Understanding these options clearly before signing an agreement helps avoid confusion later about what’s included and what isn’t.
Step 4: Installation
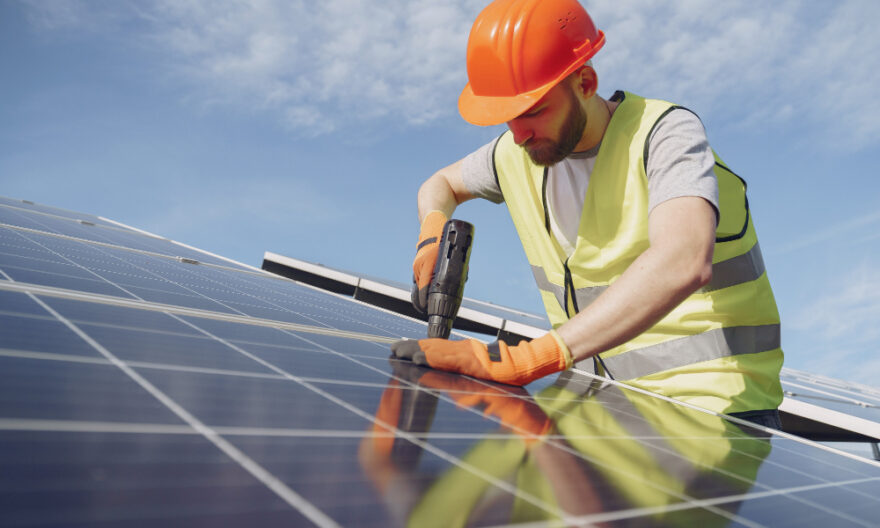
This is the visible part of the process panels go up, wiring is run, and the inverter and any additional equipment are connected. A well-run installation follows all relevant local safety codes and is handled by a trained team, with attention paid to weatherproofing, cable management, and secure mounting, since these details affect how the system performs years down the line.
Installation timelines vary depending on system size and roof complexity. A straightforward residential rooftop might take just a few days, while a larger commercial or industrial project involving multiple roof sections, structural reinforcement, or complex electrical integration can take considerably longer. A reliable installer will give a realistic timeline upfront rather than an optimistic one that slips once work begins.
Step 5: Testing and Grid Connection
Before a system goes live, it’s tested to confirm everything is working as designed. Depending on the setup, this includes connecting to the grid so any surplus power can be exported, and confirming that the inverter is properly converting and delivering power to the building.
This stage typically involves checking each string of panels for consistent output, verifying that the inverter’s readings match expected generation levels, and confirming that all safety systems isolation switches, surge protection, and earthing are functioning correctly. Skipping or rushing this step is one of the more common reasons a system underperforms after installation, so a thorough commissioning process is worth insisting on.
Step 6: Ongoing Support and Monitoring
Installation isn’t really the end of the process — it’s the start of the system’s working life. Most reliable providers offer:
- Regular performance checks
- Periodic panel cleaning
- Inverter and wiring inspections
- Support if any issue arises
- Access to monitoring data so owners can track generation over time
With this kind of upkeep, a well-installed system can continue performing reliably for 25 years or more. Monitoring in particular is worth paying attention to — most modern systems come with software that flags underperformance early, which means small issues (a shaded panel, a failing inverter component) can be caught and addressed long before they meaningfully affect savings.
Understanding Costs and Return on Investment
Cost is naturally one of the first things property owners want to understand, and it depends on a combination of factors rather than a single number.
| Cost Driver | Impact |
| System size (kWp) | Larger systems cost more upfront but scale savings proportionally |
| Component quality | Higher-efficiency panels and inverters cost more but improve long-term output |
| Roof complexity | Unusual shapes, multiple sections, or reinforcement needs add to labour cost |
| Grid connection requirements | Larger systems may require additional electrical infrastructure work |
| Ongoing maintenance | Minimal for most systems, but should be factored into long-term planning |
Return on investment depends heavily on how well the system’s generation profile matches the property’s actual electricity usage. A building that consumes most of its power during daylight hours will generally see a faster payback than one whose usage is concentrated in the evening which is one of the reasons battery storages is increasingly paired with solar for properties in the latter category.
Common Mistakes to Avoid
A number of avoidable issues tend to show up in poorly planned solar projects, and most of them trace back to skipped steps earlier in the process.
- Skipping a proper site assessment in favour of a generic, off-the-shelf quote
- Undersizing or oversizing the system relative to actual electricity usage
- Choosing the cheapest available components without considering long-term performance and warranty support
- Overlooking future needs, such as battery storage or EV charging, during initial design
- Neglecting ongoing maintenance, which can quietly reduce output over time
Avoiding these pitfalls usually comes down to working with an installer who takes the assessment and design phases seriously, rather than treating them as a formality on the way to installation.
A Few Things Worth Asking Before You Commit
- How is the system sized relative to my actual electricity usage?
- What warranty applies to the panels, the inverter, and the installation work itself?
- How is maintenance handled once the system is live?
- What happens if part of the roof needs future repair or replacement?
- Is the installer familiar with local regulatory and safety requirements?
- Can the system be expanded later to include storage or additional capacity?
Choosing the Right Team for the Job
Because so much of a system’s long-term performance comes down to decisions made before a single panel is installed, the installer you choose matters as much as the equipment itself. A few markers tend to separate experienced, reliable teams from ones cutting corners.
- Willingness to conduct a proper site visit rather than pricing a system based on a photo or a quick phone conversation
- Transparent proposals that clearly break down system size, expected output, component brands, and warranty terms
- Familiarity with local regulations, including fire safety codes and grid connection requirements for the relevant building type
- A clear maintenance and support plan rather than a one-time installation with no follow-up
- Track record with similar properties — a team experienced with commercial rooftops isn’t necessarily the best fit for a landed home, and vice versa
Asking to see examples of past projects, particularly ones similar in scale and roof type to your own property, is one of the simplest ways to gauge whether an installer’s experience matches what your project actually needs. It’s also worth asking how long the company has been operating locally, since a long-standing track record often reflects a stronger understanding of Singapore’s specific climate, regulatory, and building conditions.
Conclusion
A solar installation is as much about the process as it is about the panels themselves. The steps in between site assessment, sizing, approvals, and testing are what separate a system that reliably delivers savings for decades from one that underperforms from day one. Understanding this process ahead of time means fewer surprises, more realistic expectations, and a much better sense of what you’re actually paying for. The property owners who get the most value from solar are rarely the ones who moved fastest — they’re the ones who asked the right questions before work began.
Thinking about installing solar at your property? Book a site assessment and get a clear picture of what’s realistic for your roof and budget.
Frequently Asked Questions
How long does a typical solar installation take?
Residential installations are often completed within a few days, while larger commercial projects can take longer depending on system size and approval requirements.
Do I need special approval to install solar on my property?
Larger commercial and industrial installations generally require engineering and regulatory sign-off, while smaller residential setups usually follow a more straightforward approval process.
Will installation disrupt daily activities at my property?
Most installations are designed to minimise disruption, though some noise and limited roof access should be expected during the active installation period.
What happens if my roof isn’t in ideal condition?
An assessment during the site visit will flag any structural concerns, which can usually be addressed before installation to ensure the system is properly and safely supported.
How soon can I start seeing savings after installation?
Once the system is tested and connected, savings typically begin from the very first billing cycle, as the property starts drawing less power from the grid.